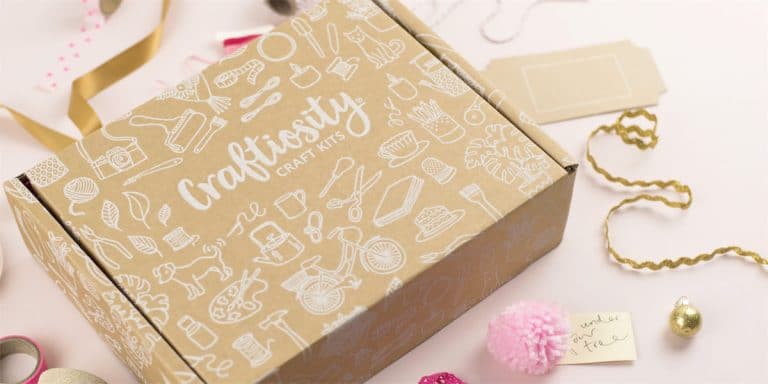
I love crafting, and while I have a regular creative hobby, I also enjoy creating different things from time to time. This is where Craftiosity comes in! Every month they send you a different project, with all the bits and pieces you need plus detailed instructions.

I’ve been making the Bargello Plastic Canvas Pot Project, which as you might have guessed, uses a plastic canvas for embroidery to create a pot that can be used for plants, pencils, or anything you might like to store!
Included in the box is lovely cotton yarn of four different colours, a needle, and inner pot, plus various pattern options. The only thing you need to provide is scissors, which everyone should have!
You also get the instructions, which include a link to an instructional video if you prefer to watch and follow along rather than written instructions with pictures. There are also three pretty postcards, which are lovely for a pinboard, mood board, or sending.

I decided to go with the pattern in the original, which is a stripy zigzag. There are four colours of yarn, blue, cream, stone, and mustard, but I decided to use just three colours, as while I adore the mustard as a colour, it doesn’t really go with anything in my house.
This is actually one of the lovely things about these kits, you can follow the designs exactly or there is always some scope to make little alterations to suit.
Anyway, I made a start, following the instructions exactly. You can see, and are told, how many squares to skip which you sew, rising up one each time to make a diagonal. The tail at the back is secured using the stitches rather than being knotted, which might not make much sense here, but is perfectly clear in the instructions!

The main thing to remember was to count the stitches correctly. I did make a couple of mistakes, but I did catch them quickly, and the great thing about using plastic canvas is that its very easy to go back on yourself and correct errors.
Once the first row was done, it was time to switch colours. Like I said, rather than doing blue-stone-mustard-cream like in the instructions, I decided to do blue-cream-stone-cream, which would give me the same number of rows.

Here are my finished rows. But can you see that I actually made a mistake with my colours? I realised that I’d started another row of blue too early, after the stone rather than doing another row of cream. Honestly, I had gone too far, nearly a whole row, before I realised, and as I couldn’t face unpicking the whole thing, I decided to just leave it. Even though they’re not the same, the thinner row is in the middle so I think it looks OK!
Once the rows were done, it will time to fill in the triangle gaps so the whole piece was in a straight line top and bottom.

To make it the correct width, the end was only half a line, which looks a bit odd here but once it’s all sewn together it looks fine.
Anyway, this is the complete piece, with all the triangles filled in. The sewn section was cut out, and then it was time to make the base of the pot.

This was a round piece that again needed to be stemmed down slightly, then sewn in the same way. The only difference is slightly bigger holes from row to row, so some require more than one stich, but this part just requires common sense.
The final step is sewing the ends of the flat piece together and then attaching the base.
This was actually the most fiddly part; I had to unpick and start again because I realised I was sewing it up crooked, but once it was changed it was all ok.
I don’t have any pictures of the process because it required two hands to do, and I was worried about messing it up!
Once it was done, you just pop the included cardboard pot in it, which is useful if you want to put a plant in there, and it’s all finished!

Even though I made a mistake with the stripes, I don’t think it matters at all. You can’t see the plastic canvas, just the lovely patterned stitches.
This is what I think of as a podcast craft; it’s perfect for listening to a podcast or the radio while you’re doing the sewing. You do have to pay attention (as I found out!) to make sure you’re doing the pattern correctly, but it’s really rather meditative, and seeing the whole thing growing is very satisfying.
I also liked that this craft could be picked up and put down when you like, there’s no time-sensitive aspect. It actually took me nearly a week doing it in bits and pieces, but it worked very well, it was rather nice grabbing an hour here and there to sit and stitch away.