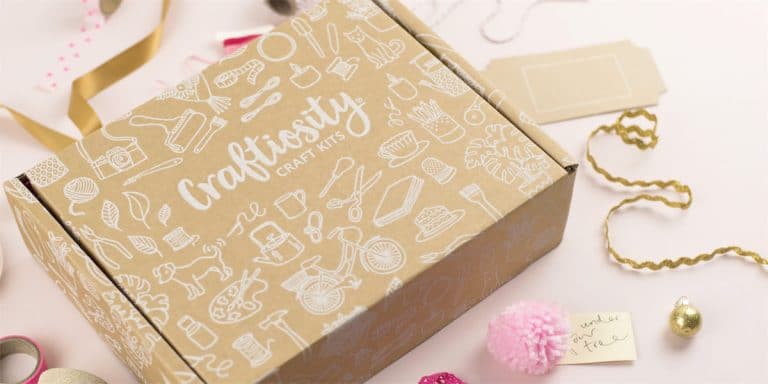
If you’ve ever enjoyed being creative but are never quite sure about starting, or even choosing a project, Craftiosity is the perfect creative project subscription.

Every month you are sent a complete kit to make something lovely. Everything is included you need, except for common household items like scissors. But all proper tools and materials come in the box.

This project is to make a papier-mâché vase. You’ve got the dry paper pulp, template, tape, paint & crush, an insert, gloves, plus full and detailed instructions. There’s also a link to an instruction video, which is very useful if you’re someone who learns by watching.
As a lovely little bonus, each box also includes some lovely postcards which are great for decor, scrapbooking, mood boards, or anything you like!

As per the instructions, the first thing to do is to create the base for the vase. There’s a template included, which you trace and cut out, and then use the cardboard from the box to make your base and tape it all together.
As you can see, the example in the instructions, and the template, is a slightly different shape from the one I’ve made. One of the lovely things about Craftiosity is that you can actually be a little bit creative with what you are going to make; the principles are all in the instructions but of you want to add your own twist then you can, it will still work! I took the template, which was sort of a circle in the middle with a narrow top and bottom, and just rounded out the sides so the top opening was narrow and the base was wider. It worked just fine, and I cut out and assembled the base following the instructions and using my own shape.

Once the base is assembled, it’s time for the squishy bit! When I first saw papier-mâché I was imagining childhood strips of newspaper an wallpaper paste. But this is different. There’s a dry pulp to which you add water and press it on to the cardboard. You have to be careful not to add too much water, but as long as you don’t go crazy it’s very easy to get the correct texture. Also the video will show you exactly what it’s supposed to look like.
There’s a plastic box for mixing and a pair of gloves in the box so you don’t have to worry about mess either.
Pressing the pulp over the base was quite fiddly, making sure there were no gaps and it was even, and also that I wasn’t using too much! You actually have to do this in two sections, the front part, leave to dry, and then the back part. So in terms of time you need to complete this project over a few days.
I was a little worried I wouldn’t have enough pulp, bt as it happened it was fine, there was plenty to cover the entire shape.

Once it was all dry, it was time to paint.
The box included some teracotta paint, to give the effect of pottery. In the instructional example, there were two stripes left white and the rest terracotta. I liked how this looked but I actually wanted something a bit more neutral that would fit in with my decor.
So I decided to paint the whole thing white. The pulp was white anyway, but I thought I’d use white paint to make it a little brighter and more even. I just used regular acrylic paint, which is very easy to use, very inexpensive, and most vaguely crafty people will usually have some on hand! But of course it’s not essential, you can just use the paint included, or even just leave it as it is.

Once it was done, I thought it needed just a little detail, nothing dramatic, because I do like my neutrals. I decided to add a light grey stripe just around the neck of the vase. Again with acrylic paint, white with a tiny bit of black mixed in until I got the shade I wanted. I also used the masking tape in the Craftiosity box to tape off the stripe to keep it more or less even.
Because the surface has this wonderful textured effect, it wasn’t absolutely perfect, though I used the brush to fix a couple of places where it held under the tape a little, and the textured surface means it’s not going to look like a perfect line anyway.
I left it to dry (acrylic paint takes very little time) and it was all done!

As you can probably guess, you can’t put water in a papier-mâché vase! But handily, included in the box is a plastic tumbler that should fit right inside, so you could put water in that and the vase would be protected. I decided to put a few artificial flowers I had in the vase instead, which I think look really pretty and contrast well with the white.