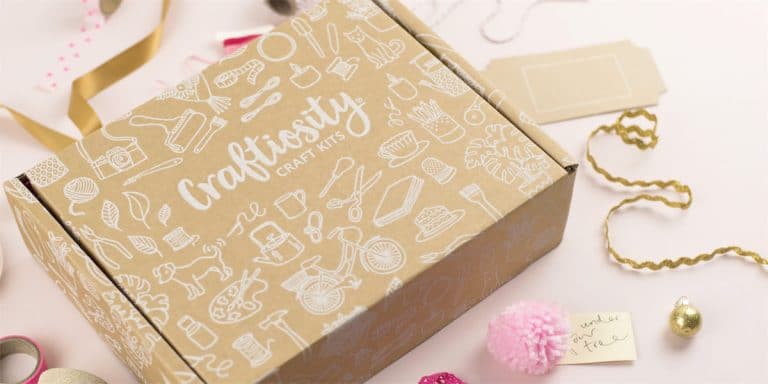
There are so many different ways of crafting, and Craftiosity is a wonderful way to try your hand at a whole lot of different techniques and styles.
This time I’m having a go at something I’ve never tried before, with this kit for a Mother of Pearl Mosaic Mirror.

Inside the box is everything you need, so there’s no special equipment required. You only need to provide things you would have anyway, such as scissors or rulers.

There’s a wooden backing, and acrylic mirror, the stone paste for the base, and of course a bag of lovely mother of pearl tiles. You even get gloves, as that stone powder can get messy!
Also inside the box are full instructions, with a link to a video guide if you prefer watching to reading, plus some lovely themed postcards perfect for a mood board, scrapbooking, or sending.

The first thing that had to be done was to use the stone paste to attach the mirror to the base. Sensibly, the mirror had a plastic protective layer which doesn’t get removed until the whole thing is finished.
The powder needed to be weighed out with water, a bit at a time as it dries quite quickly, and a blob of it to stick the mirror in the middle. I suppose you could do some complicated measurement to make sure it was perfectly centralised, but I just eyeballed it and it was absolutely fine. Any paste that squeezed out was kind of spread around with the included missing stick.
This needed to be left to dry for a couple of hours or so.

After that, it was time to pick out the tiles. There was a pattern guide in the instructions, a group of four in a diamond shape at each quarter point of the base. It was suggested to pick out some of the darker tiles so they showed up a bit more.
I realised that the reverse of some of the tiles was a rather striking pattern, darker and rather striated, presumably the shell side of the mother of pearl. I decided to use one of these each for the outer end of each diamond shape. I put those aside and sorted the rest of the tiles to find the ones with the prettiest shine.
When it comes to applying the tiles, you only do a small portion at a time, because the paste dries quite quickly. After doing a couple of diamonds, the rest gets filled in how you like really, sort of in rows. The tiles aren’t perfectly identical in shape, so the slightly haphazard layout doesn’t matter.

After completing the tiles, I spread some paste around the edge to cover up the wooden base.
I did find the tiling itself quite tricky, getting a smooth surface with all of them laying flat wasn’t entirely successful. Unlike regular wall tiling, where you fill in the gaps with grout, this requires a layer of the stone paste with the tiles being pressed into it. The paste didn’t stay at the perfect consistency for very long, so there are definitely a few lightly lumpy bits.
Anyway, the whole thing once finished was left to dry for 24 hours.
Once dry, you stick the attachment on the back (also provided) to hang it up.

Once it was all dry, I gave the edges a bit of a sand and wiped the whole thing down, carefully removing some bits that had covered the tiles.
Removing the film from the mirror was very satisfying indeed, the brightness of the mirror gave it a whole new look!
I didn’t have a handy hook for hanging, but it works well just propped up.


